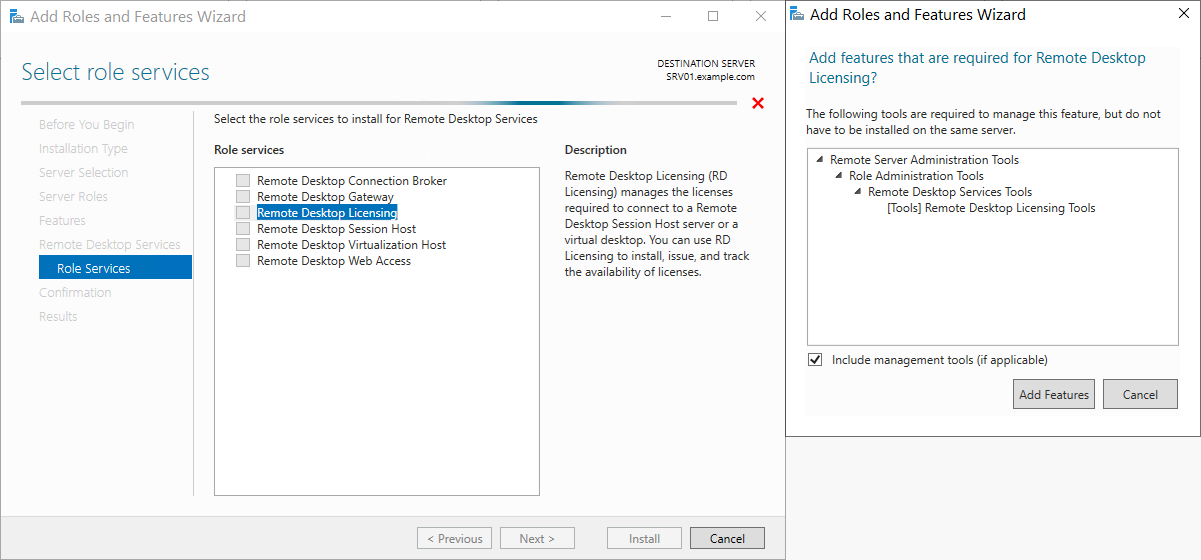
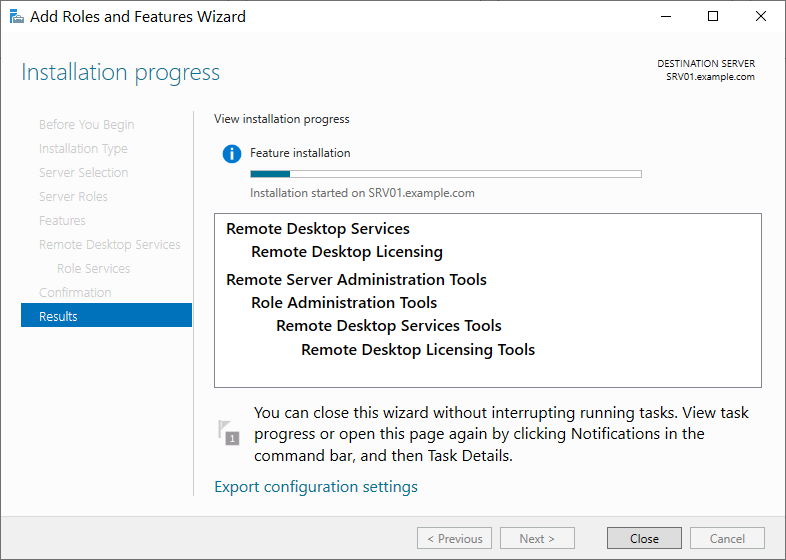
Installing the RDP role on a Windows server occurs in two stages: first, the Remote Desktop Service is installed, after which we determine the licensing server.
1. Installing Terminal Server (Remote Desktop Services) on Windows Server
Before starting the settings, you need to set the name of the server itself:
Start → Server Manager → Local Server → Click on the current computer name to change it.
After that, once on the System Properties page, click the Change button, after which we go to the page for changing the computer name. Specify the desired name, and click OK. As a result, we get a system message stating that a reboot is required to apply the new setting. A reboot can be performed either immediately or later on your own.

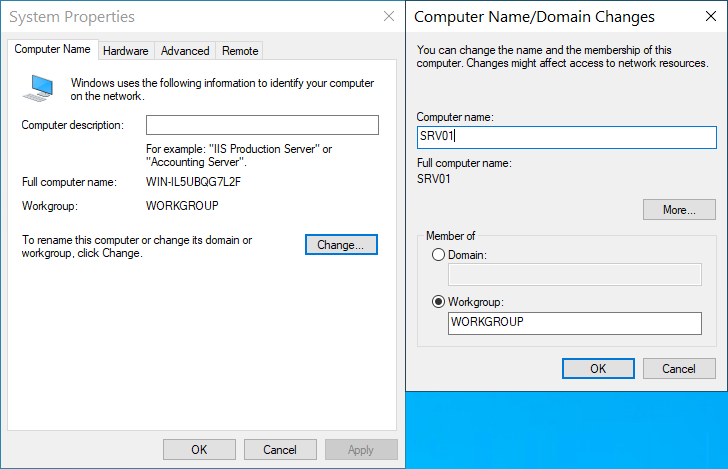
After rebooting the server, we can proceed directly to the installation of the Active Directory directory service:
Start → Server Manager → Add roles and features:

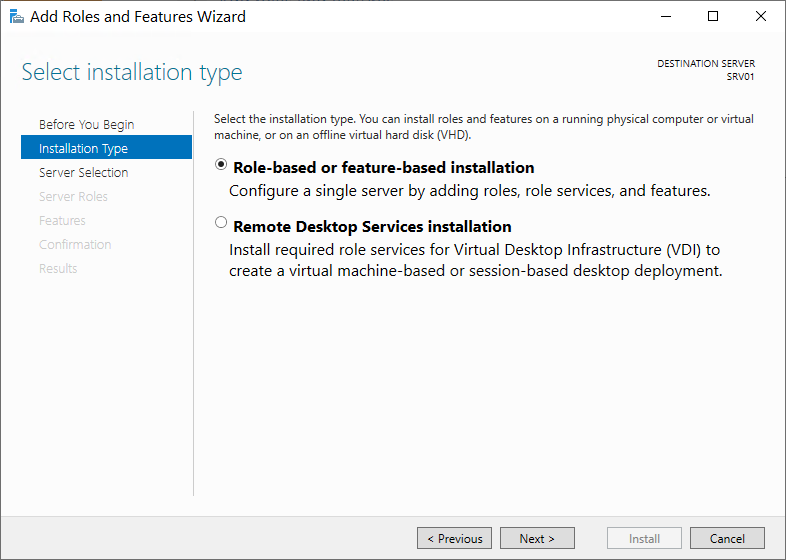
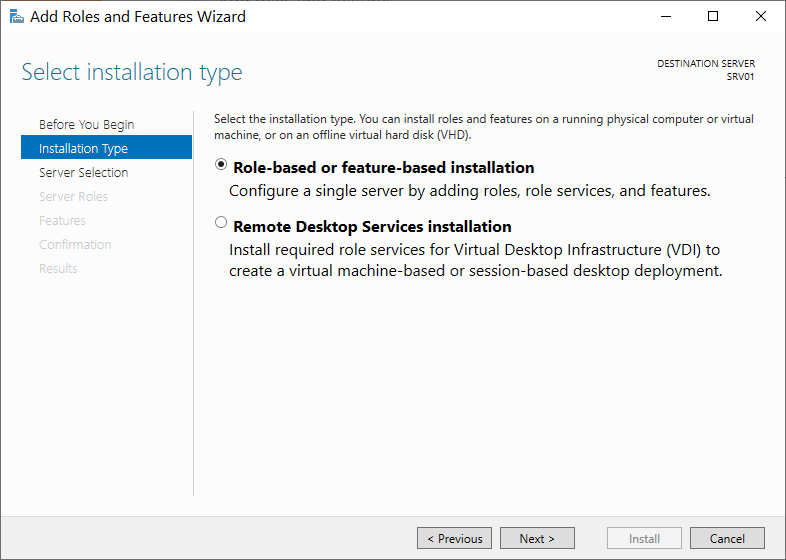
In the dialog box that opens, select Install roles and features:
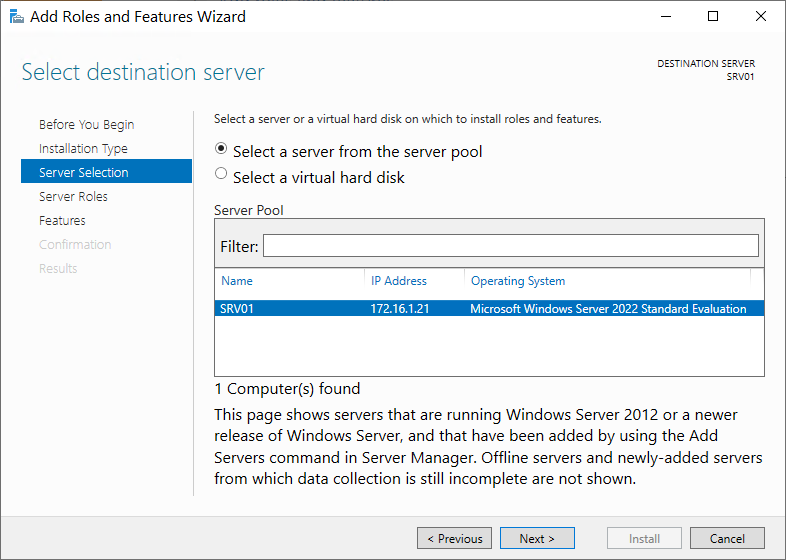
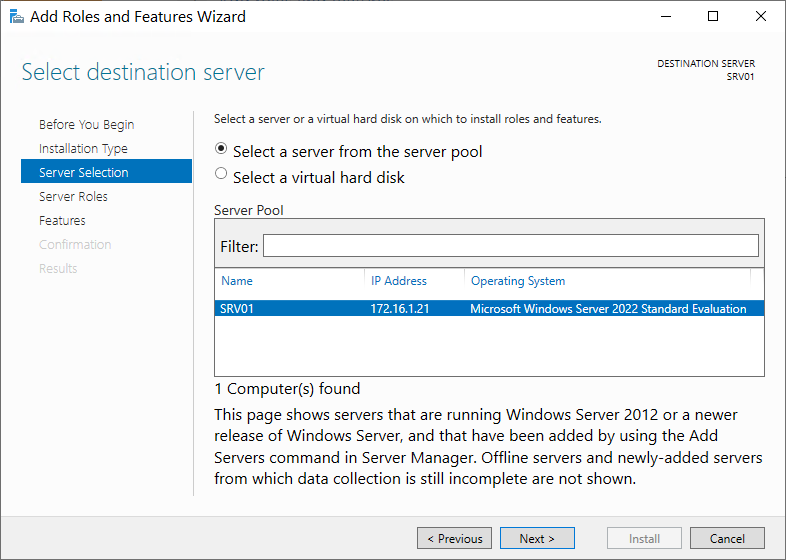
Next, you need to select the server on which we will install the AD role. From the Server Pool list, select our SRV01 server and click Next:
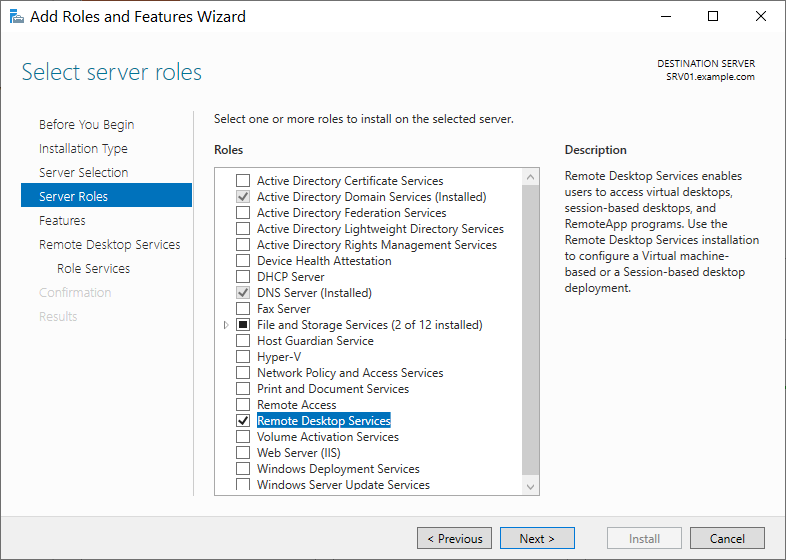
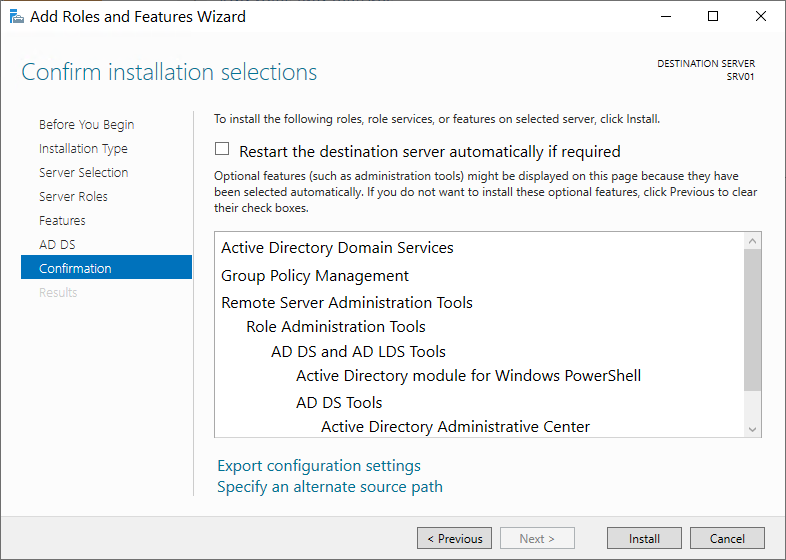
Then a list of available roles to install on our server will appear. In this case, we are interested in a role called Active Directory Domain Services. By checking this item, we will open a list of all the necessary components that will be installed for the basic functioning of the AD role. You can also install the DNS server role during the selection of roles for installation. In all remaining dialog boxes, click the Next button. At the very last step, click Install to install the role:
Upon completion of the installation, go back to the menu item Start → Server Manager → Add roles and features. As in the image below, once a new role has been established, a yellow triangle icon will appear:

We promote the role of the server to the level of a domain controller by clicking the button of the same name.
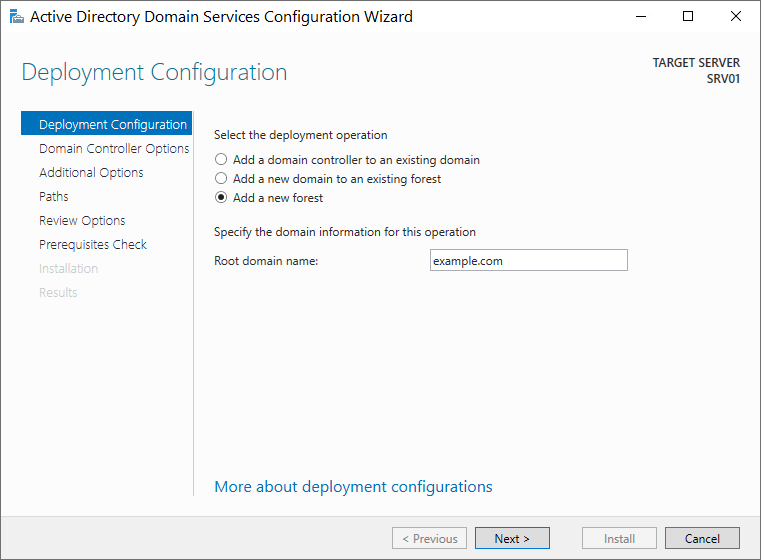
Then, after selecting the Add new forest item, specify the name of our domain and click Next:
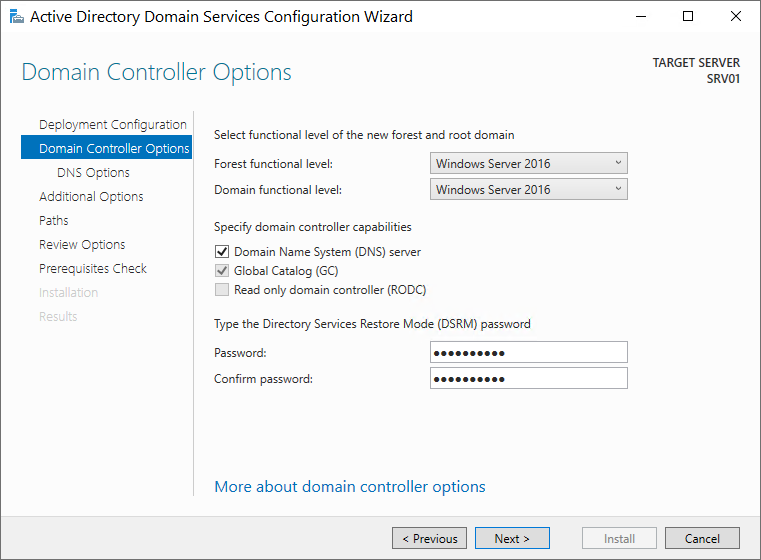
We leave the compatibility of the forest and the root domain to Windows Server 2012 R2.
Check the DNS Server and Global Catalog (GC) items.
Set a password to restore directory services if the need arises in the future:
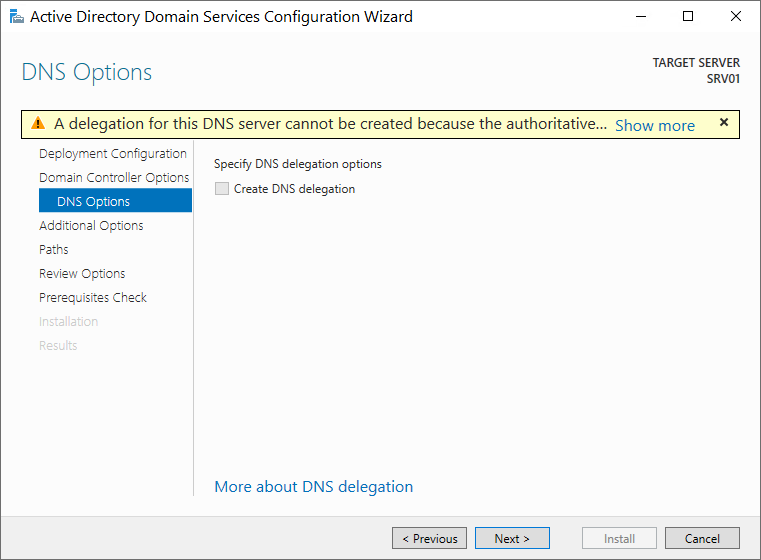
On the next tab, we will get a warning that it is not possible to perform delegation for this DNS server, we ignore the message and go to the next window:
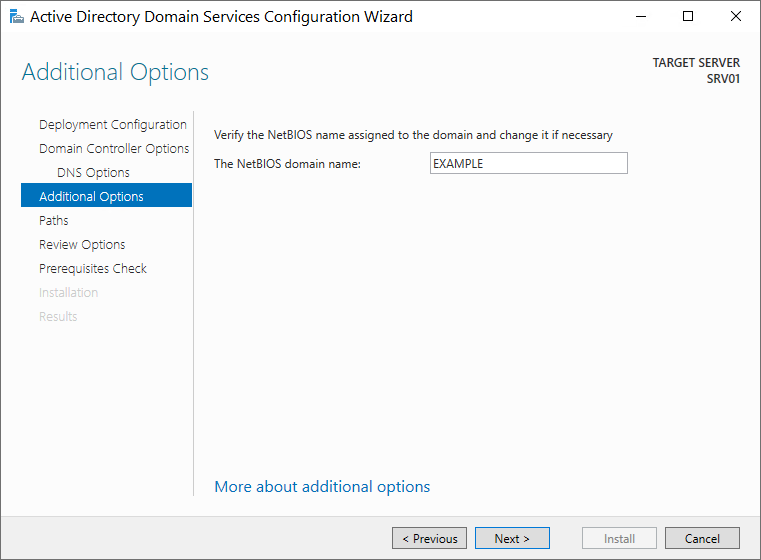
On the next NetBIOS tab, leave the name unchanged:
At the next stage, the paths to the database files will be displayed, we also leave them unchanged:
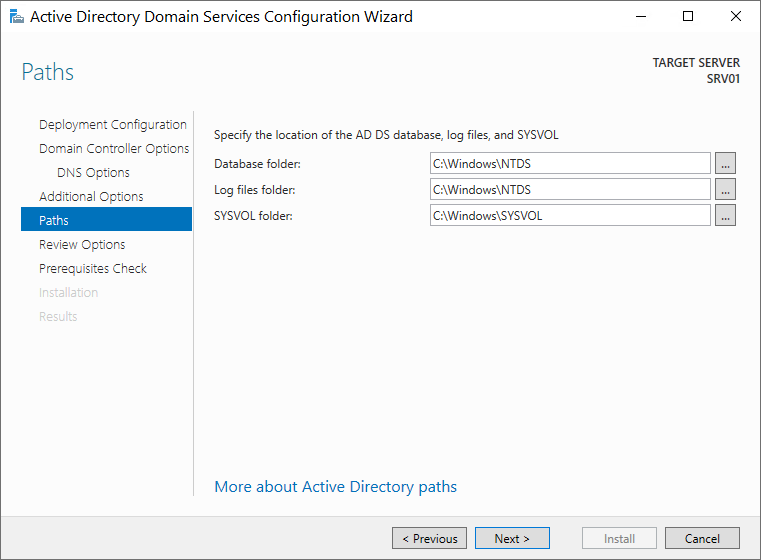
By clicking Next, we will proceed to the list of summary settings, after which you can proceed directly to the installation stage itself. Automatic checks for the correctness of the installed parameters and settings will be performed, after which the Install button will become available:
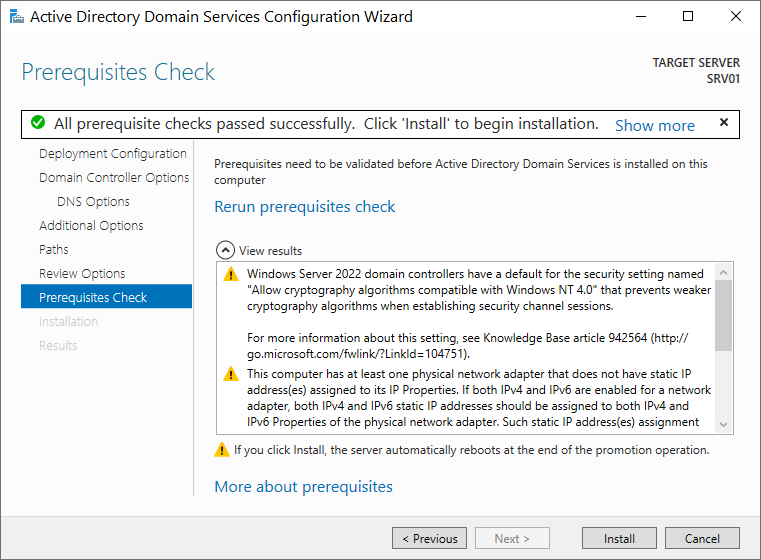
When the installation is complete, the server will be rebooted.
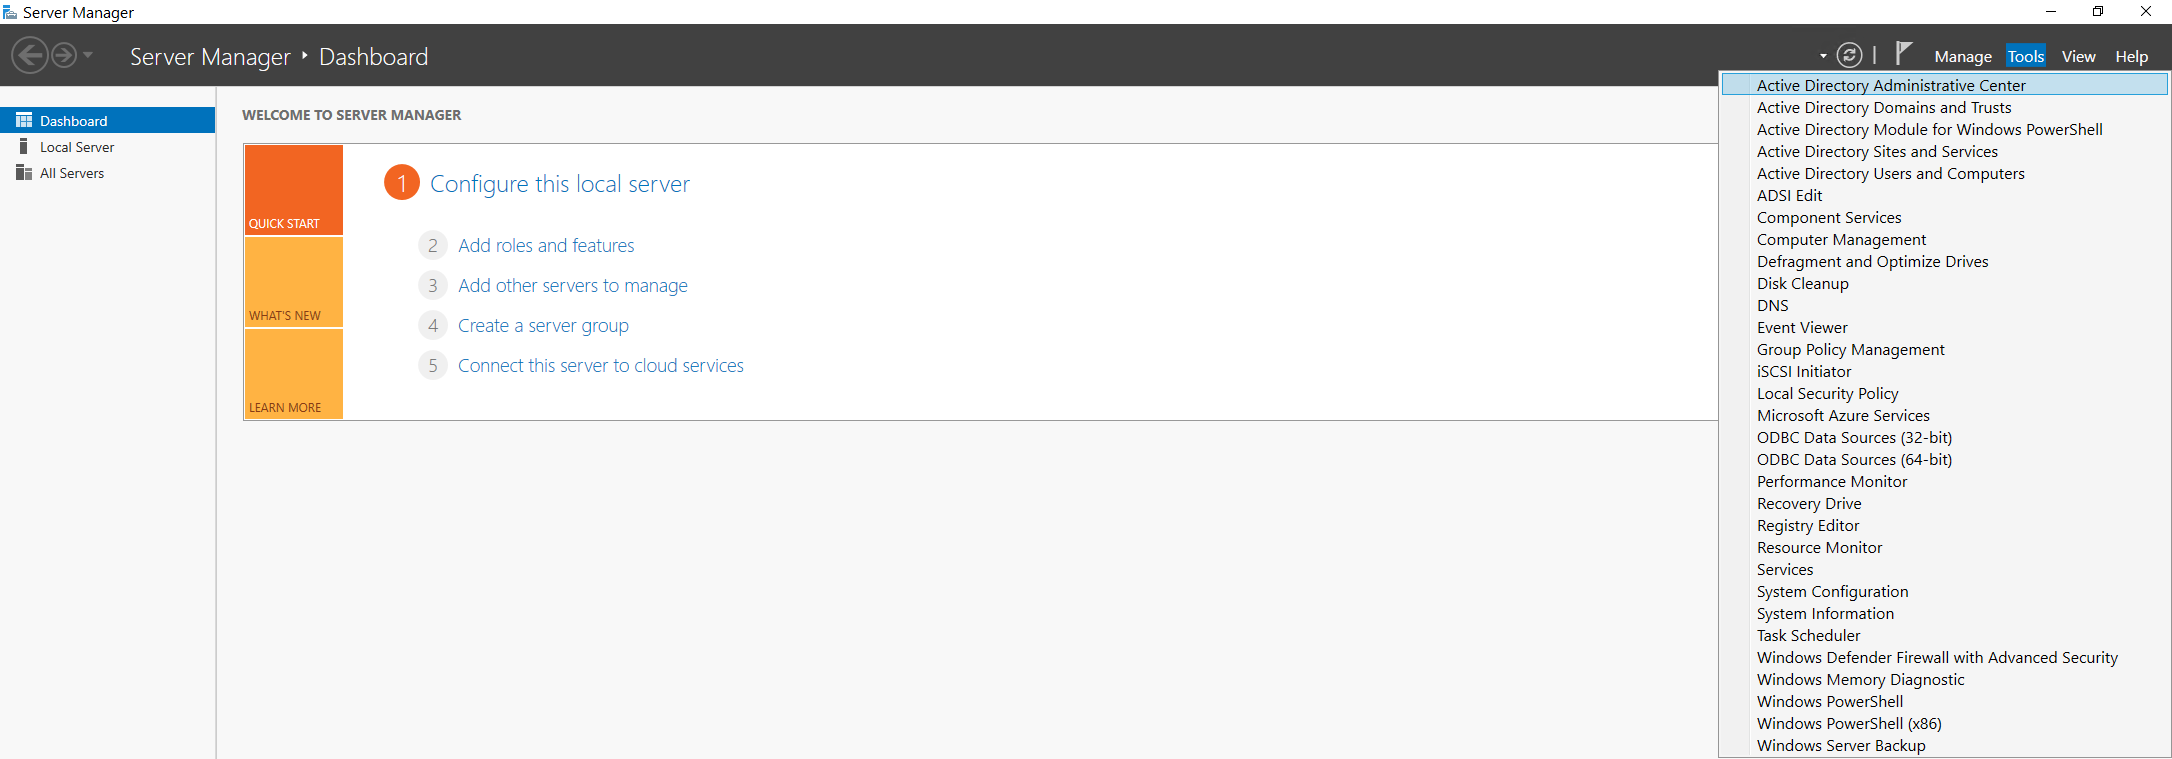
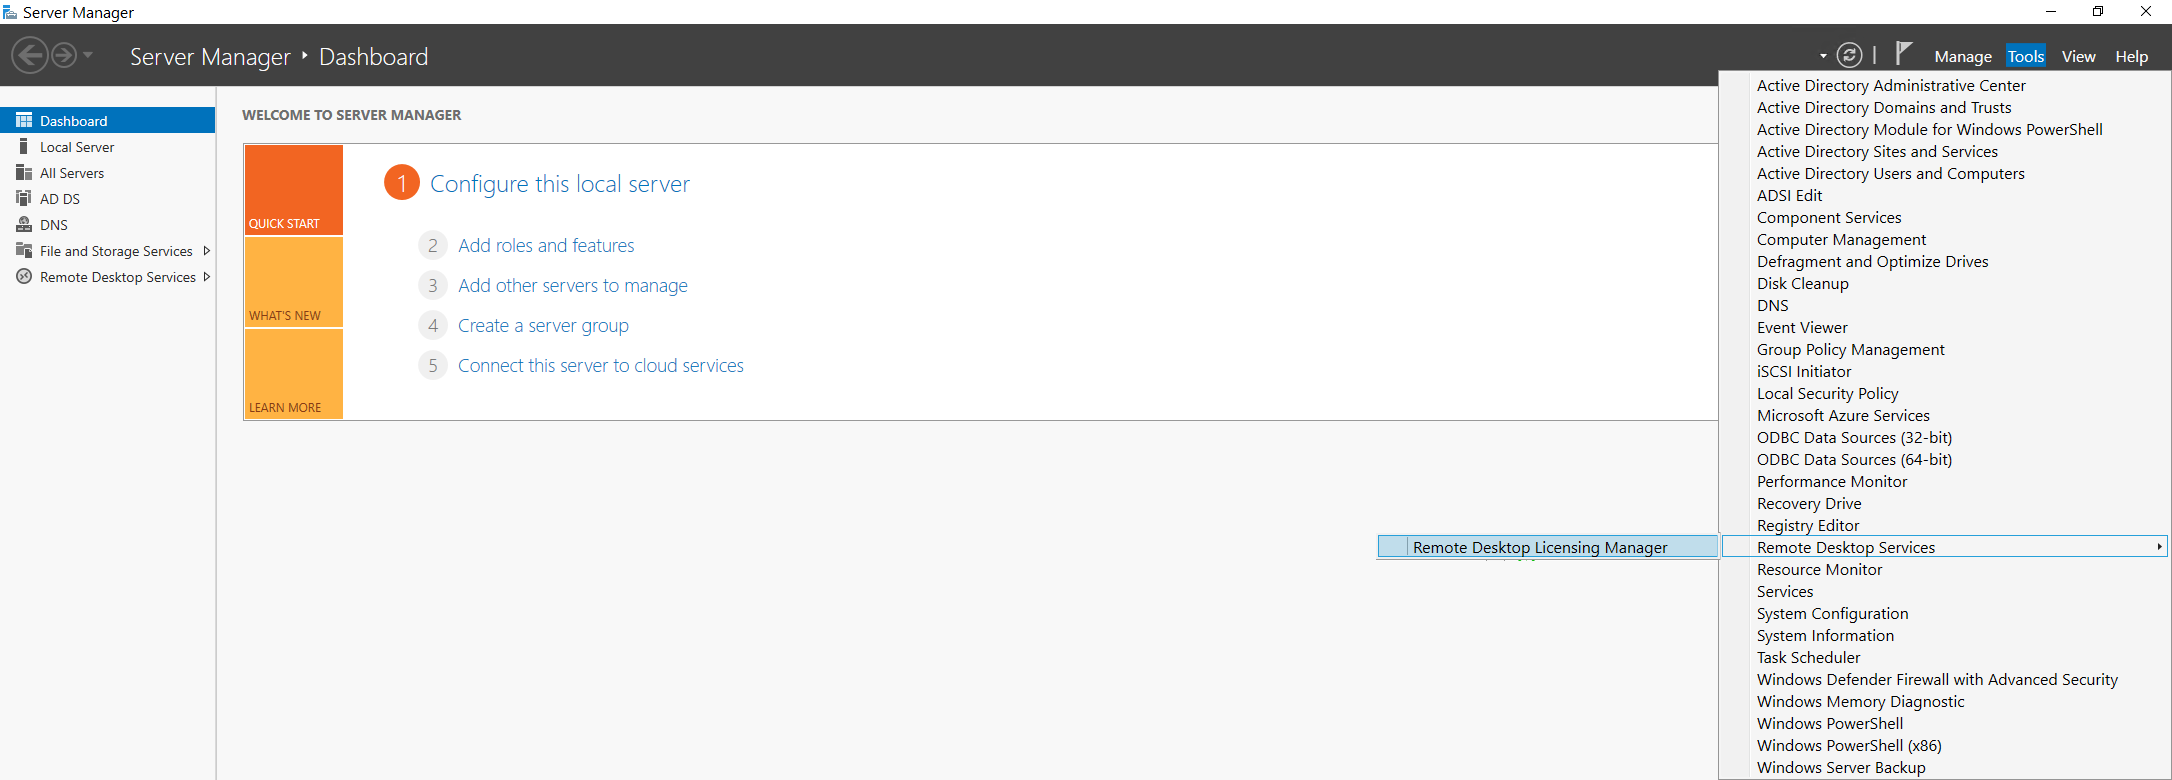
Centralized management of users, and groups, editing, adding, and deleting them can now be performed through the Active Directory Administrative Center snap-in in the Server Manager menu, from the Tools tab:
